
Setting up a dedicated charging station for your devices can help you keep your space tidy and ensure all your gadgets are powered up and ready to go. Whether you have smartphones, tablets, smartwatches, or wireless earbuds, a well-organized charging station simplifies your daily routine and reduces cable clutter. In this guide, we’ll walk you through the process of creating a practical and attractive charging station at home.
Why Set Up a Charging Station?
Before diving into how to create your charging station, it’s worth highlighting some benefits:
– Convenience: Have all your devices charging in one central place.
– Organization: Reduce messy cables and avoid losing chargers.
– Safety: Prevent overheating by using proper outlets and organizing cables.
– Efficiency: Charge multiple devices simultaneously without overloading sockets.
With these advantages in mind, let’s explore how to design your own charging station.
Step 1: Choose the Right Location
Finding the perfect spot for your charging station is crucial. Consider these factors:
– Accessibility: Pick a location accessible to everyone who will use the devices.
– Power source: Ensure it’s close to electrical outlets to avoid excessive extension cords.
– Ventilation: Avoid enclosed or overheated areas to keep devices safe.
– Space: Choose a surface with enough room for all your devices and accessories.
Common places include a desk, kitchen counter, or living room shelf.
Step 2: Gather the Necessary Supplies
Depending on your setup, gather these essentials:
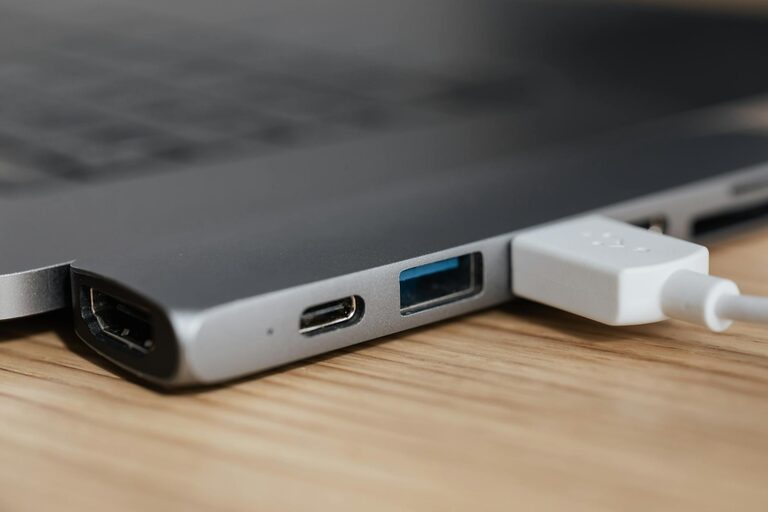
– Charging hub or power strip: Look for one with multiple USB and standard outlets.
– Charging cables: Ensure you have the right cables for each device (USB-C, Lightning, micro USB).
– Cable organizers: Clips, ties, or sleeves help keep cords untangled.
– Storage containers or stands: To hold devices upright or safely on the surface.
– Labeling tools: If multiple users share the station, labels avoid confusion.
Optional supplies:
– A small basket or tray to contain chargers and loose items.
– A surge protector to guard devices against electrical spikes.
Step 3: Select the Right Charger
Choose chargers that fit your device needs:
– Multi-port USB chargers: These reduce the number of outlets used.
– Fast chargers: Support quick charging for compatible devices.
– Wireless chargers: Ideal for devices that support Qi wireless charging.
– Power strips with USB ports: Combine standard plugs and USB in one device.
Make sure your chargers are from reputable brands and comply with safety standards to avoid damage.
Step 4: Organize Your Cables
Cable management is key to a tidy charging station:
– Shorten cables: Use cable ties or wraps to reduce excessive length.
– Use cable clips: Stick these to the side of your surface to guide cables neatly.
– Color code or label cables: Identify which cable matches which device.
– Avoid cable tangling: Use sleeves or tubing to bundle cables together.
A clutter-free charging area looks better and functions more efficiently.
Step 5: Arrange Your Devices
Depending on your device types and daily use, arrange them like this:
– Device stands: Use stands for phones and tablets; they allow you to use the devices while charging.
– Vertical arrangement: Save space by stacking or standing devices upright.
– Charging tray: Place smaller items like smartwatches and earbuds in separate compartments.
– Accessibility: Position the most frequently used devices at the front.
Ensure cables aren’t stretched or pinched when devices are placed.
Step 6: Add Finishing Touches
Make your charging station more pleasant and useful:
– Decorative elements: Add a small plant or photo frame next to the station.
– Lighting: Consider a soft LED light under the charging area for visibility at night.
– Cleaning: Keep the surface clean from dust and debris regularly.
– Maintenance: Check cables and chargers now and then for wear and damage.
These small additions improve the station’s appeal and functionality.
Tips for Using Your Charging Station Effectively
– Unplug devices once fully charged: To protect battery health and save energy.
– Avoid overloading outlets: Follow the power limits of your strips and chargers.
– Keep chargers in good condition: Replace frayed cables or damaged plugs immediately.
– Consider portability: If you travel often, use modular chargers that can be easily packed.
Conclusion
Creating a dedicated charging station is a simple yet effective way to organize your devices and keep them powered. By choosing the right location, using proper chargers, organizing cables, and arranging devices thoughtfully, you’ll enjoy a clutter-free space and hassle-free charging. Take the time to set up your station today and experience the convenience all day long!
—
We hope this guide helps you create the perfect charging station tailored to your needs. Feel free to share your setups and tips in the comments below!